The end of summer is a time of preparation. The glut of summer is still...glutting?...but the plants are showing signs of slowing. We'll have tomatoes, bell peppers, cucumbers, and the like until the fall frost takes them, but the frosts are coming so we have to prepare. There's a good deal that can grow during mild and hard frosts, but it's not much fun to grow it- if you don't believe me go back and look and the day harvesting mizuna in calf-deep mud blog post. It is much easier to grow as much as we can to store and preserve it rather than race to grow a ton of stuff in freezing rain and mud. Winter squash, onions, garlic, potatoes, and sweet potatoes are such an important stand-by in the winter when your boxes get overrun with roots and greens.
It seems odd to plant "winter" squash in summer, but that's when they do best! Our first rounds of them are ready. We know it's time to pick when the squash has gone from light to dark colored (usually green to another color) and you can no longer puncture the flesh with gentle pressure of your thumb nail. This is a partial cure. It's time then to run up and down the jungle of scratchy vines with long handled pruners (loppers) and cut their stems from the plants. Then the trick is lugging them out back through the scratchy leaves and vines... and the occasional snake and ugly spider. Then they're placed in a dry, shady spot to fully cure.
 |
| Here is our first haul. This is about 50' of 3 rows. Aren't they fun! |
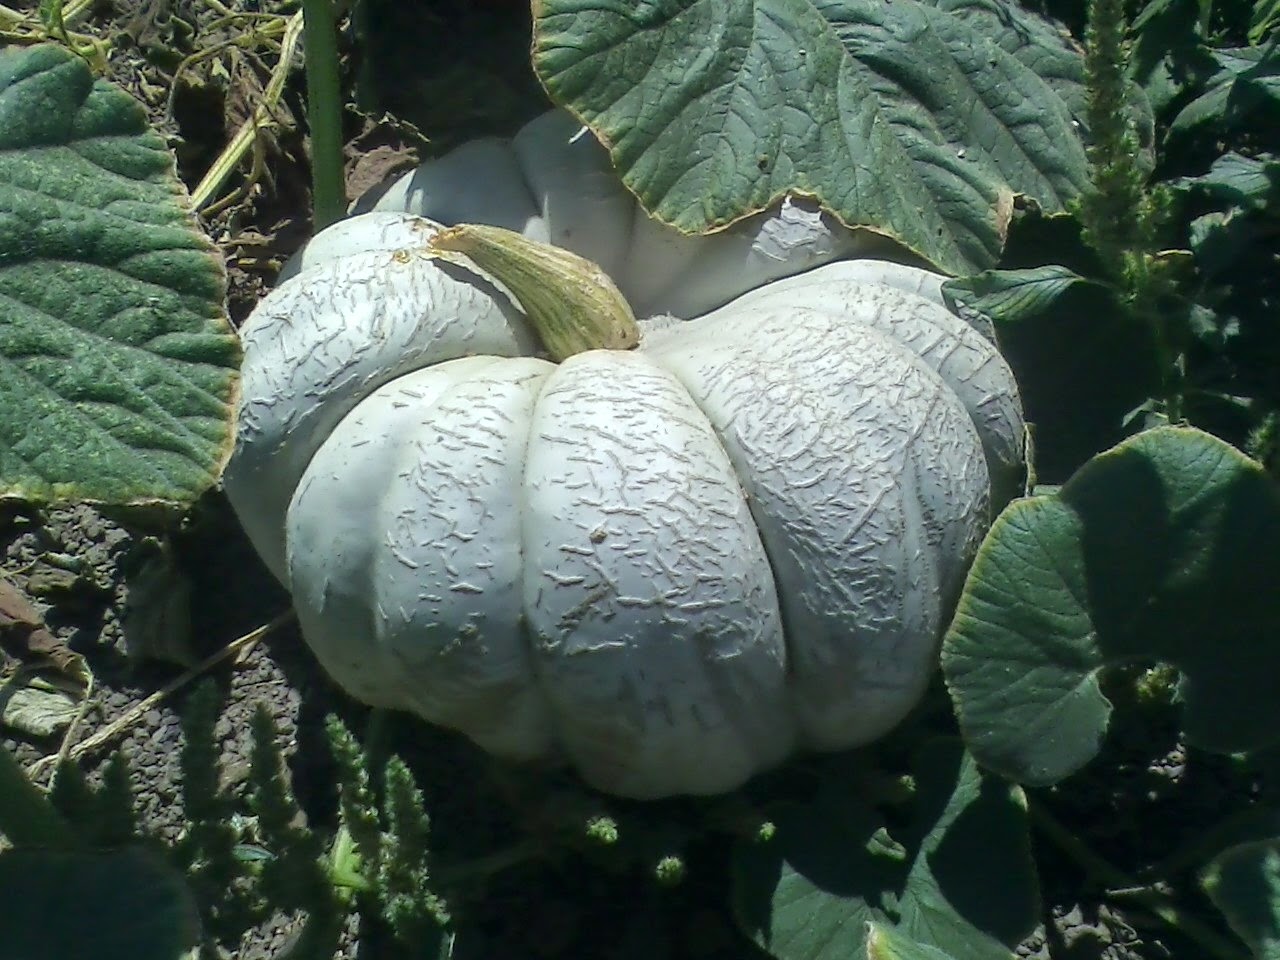 |
| These guys were some crosses done by a plant breeder. Your guess is as good as mine as to what they are. It'll be fun trying out some new varieties! |
 |
| How do you carry neck pumpkins out of the field? Bracelet style...heavy, heavy bracelets... |
 |
| Or as a neck-pumpkin-lace. |
Sweet potatoes are another really great storage crop. We grow them by making our own "slips". We buy whole, organic sweet potatoes and bury them in greenhouse soil and water them... like A LOT thirsty buggers that they are... and wait. Soon, green shoots start to emerge. When they look sturdy we take the buckets out to a prepared bed and dump the bucket. Usually, the potato is still in tact and you can slip the "slips" off the potato and tuck it into moist soil. You can re-use the potato to make more slips or eat it! If this sounds bizzare and hard to imagine, think of the many old potatoes that got lost and forgotten and sprouted. Those green shoots out of the potatoes eyes are the slips I speak of.
The potatoes are a long season crop and hang out doing their sweet potato thing for a few months. You know they're ready when the plants start looking haggard. You can do a few test digs and see how they're progressing. It's magic really, to shove a fork into the ground and lift up massive orange tubers.
 |
Byron is ensuring that the sweet potatoes never feel lonely.
This year, we left 3 or less onion sprouts together on advice from another local farmer. It worked! The onions still sized, albeit slightly smaller. They just shoved each other out of the way! We also transplanted these 3-onion-cells with a carousel transplanter so no crawling was involved. This really made it easy to love onions this year!
 |
| Here is Tarra genuinely enjoying the onion harvest! |
 |
| I think our friend may have gotten transplanted upside down and still found a way! Well, kind of... |
 |
| Onions and cinderblocks on their way to a shady spot to be put up to dry, cure, and keep! |
 |
| Our drying system is pretty simple. It is by no means ideal, but as crude as it is- it works! We put down 3 pallets and cover them in shade cloth. We spread the onions out onto it and stack the blocks around it. Then 3 more pallets go down with shade cloth and more onions. In all we have 6 layers this year. Someday we'll have a big drying shed with pull out drawers and everything on pallets with a forklift... but this is elegantly simple and works wonders with what we have on hand! |
 |
| Leaning tower of onions? |
Long,
hollow med hot chilies
½
pound queso fresco or jack cheese
3
eggs
1
tbs flour
1 C
oil
Broil
chilies whole until they start to blacken and blister. Remove and place in bowl
with a kitchen towel over it. Let them steam for 10 minutes to make skinning
easier. While they’re steaming, separate eggs and beat whites until stiff peaks
form, mix flour into yolk and fold whites in. Heat oil in pan until shimmering. Stuff skinned chilies with
cheese and dunk in batter. Fry peppers until golden brown.
Variations/Suggestions:
Serve
with rice and beans for a meal
Serve
with a spicy tomato sauce or enchilada sauce
Make
a Mexican picadillo mix to stuff the peppers with it
Use smaller hot pepper like jalapenos
Let me know what you think! Enjoy!
Use smaller hot pepper like jalapenos
Let me know what you think! Enjoy!
No comments:
Post a Comment